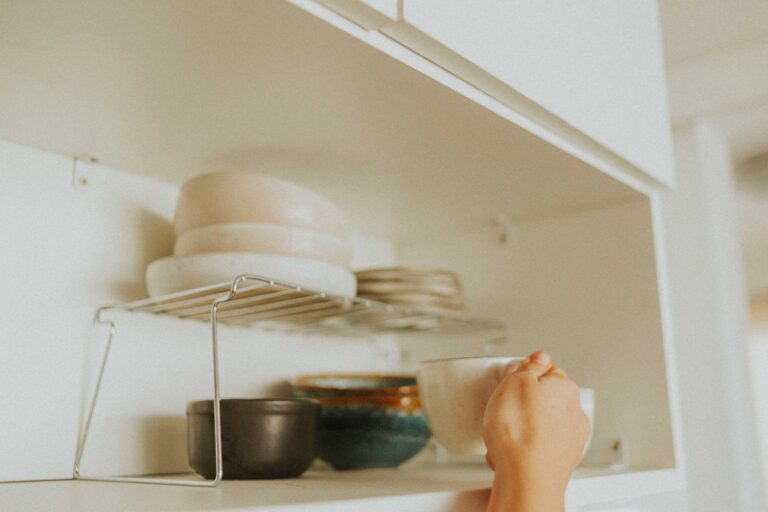

A 15-minute purge of expired food and duplicate tools, followed by mapping each cabinet’s reachable depth, gives daily gear a nearby home before any organizer enters. Crowded counters can point to an access problem rather than too few cabinets; a 10-inch-deep rear shelf can hold plenty beyond your reach.
The sections below walk you through decluttering, workflow zones, cabinet access, renter-safe wall storage, and short upkeep routines for a compact kitchen.
Start With a Buy-Nothing Storage Audit
A 24-inch cabinet feels crowded fast when expired pasta, three can openers, and a blender from 2018 block the tools you touch each day. Emptying one zone at a time shows whether your issue comes from volume, poor access, unused height, or belongings with no home.
Your audit should begin before bins, racks, or cabinet organizers enter the picture. A shelf packed with duplicates needs less inventory, while a deep cabinet full of useful cookware needs a better way to reach the back.
Empty One Cabinet Zone at a Time
Pull everything from one drawer, shelf, or lower cabinet, then sort it before anything goes back. Your goal is a clear view of each category’s true footprint instead of moving clutter from one crowded surface to another.
- Daily basics Retain food and tools that earn room through regular activity in your kitchen.
- Stray belongings Move batteries, mail, craft supplies, and pet items away from food-prep zones.
- Duplicate tools Donate extra spatulas, unused gadgets, and spare mugs that no longer serve your routine.
- Damaged pieces Recycle chipped cookware, warped plastic, cracked storage tubs, and worn utensils.
- Expired food Check spices, baking supplies, sauces, and overlooked pantry packets before they occupy another shelf.
Decluttering expired food, duplicates, and unused gadgets gives you room without new furniture. Your cabinet becomes simpler to stock because every remaining item has a reason to occupy limited square footage.
A practical rule helps during hard choices: daily items stay nearby, seasonal pieces move upward, and unrelated belongings leave the kitchen. That separation gives your next storage decision a clear purpose.
Record Dimensions Before Organizer Shopping
Write down the interior width, depth, and height of each shelf and drawer. Include door swing, hinge space, pipe locations, and the gap beneath shelves, since a basket that fits on paper can stop a cabinet door from closing.
| Storage area | Key dimension | Likely bottleneck |
|---|---|---|
| Upper cabinet | Shelf height | Unused vertical gap |
| Deep base cabinet | Front-to-back depth | Unreachable back half |
| Utensil drawer | Interior width | Mixed categories |
| Sink cabinet | Pipe clearance | Awkward plumbing |
Written measurements stop a familiar mistake: buying bins for a volume issue that needs decluttering. Your recorded dimensions also reveal whether shelf risers, drawer dividers, or handled bins have enough room to function.
Once every remaining item has passed the audit, your next task is placement. Daily gear belongs near the task that brings it out of the cabinet.
Set Storage Zones Around Your Kitchen Workflow
The labels from your audit reveal natural work areas for prep, cooking, cleaning, food storage, baking, and pantry goods. A spatula beside the stove saves more motion than a neatly sorted utensil drawer across the room.
Small kitchen storage ideas work better when they follow your daily path through the room. Your coffee supplies, cutting tools, cookware, dishes, and cleaning gear each need a zone that matches how you move.
Put Daily Items in the Reach Band
Keep daily tools between waist and eye level, where your hands reach them without crouching or a step stool. Your coffee mugs, plates, skillet, cooking oils, and lunch containers belong in this band because they move through your day repeatedly.
High shelves suit serving platters, holiday cookie cutters, and a once-a-month waffle maker. Low rear corners suit stockpots or bulk paper goods, provided daily cookware does not sit in front of them.
That reach pattern also reduces cabinet reshuffling during dinner. You spend less time moving five items to reach one pan, and your lower shelves carry the heavier load.
Give Counters a Strict Job
Countertops are prep surfaces, not appliance parking lots. Keep an espresso machine or toaster out only when it earns that footprint through near-daily activity; move a slow cooker, stand mixer, and specialty juicer into a cabinet, another room, or a donation box.
Your counter needs a clear landing strip near the main prep area. An 18-inch patch gives you room for a cutting board, mixing bowl, or hot pan without pushing utensils toward the sink.
Keep a landing strip of at least 18 inches near your main prep area. A clear patch changes how usable a small kitchen feels during meal prep.
Nested bowls, measuring cups, cookware, and food containers occupy less room than loose pieces. OXO nesting sets show the principle clearly: matched shapes sit inside one another, leaving room for lids and tools that once drifted around the cabinet.
This workflow map answers how you create storage with little counter space. Your walls, cabinet doors, and unused shelf height can carry lighter tools that no longer need a spot beside the cutting board.
Turn Unused Height Into Working Storage
A shelf with 8 inches of empty air above short mugs wastes a full layer of room. Vertical storage for small kitchens works only when the added level still leaves enough hand room to lift items out safely.
Start with the gap above the shortest belongings on each shelf. Your measurements show whether stackable shelf risers, under-shelf baskets, or clear food storage containers fit without crowding the door.
Divide Shelf Height With Purpose
Cabinet shelf risers turn a tall mug shelf into two shorter levels for cups, bowls, or cans. Under-shelf baskets fit beneath a tall shelf that holds light belongings such as napkins, sandwich bags, or dish towels.
Clear food storage containers suit rice, flour, pasta, and cereal because square walls waste less pantry room than soft bags. Their transparent sides show your inventory, so a second flour bag does not disappear behind snack boxes.
| Storage problem | Reversible tool | Suitable contents |
|---|---|---|
| Tall shelf gap | Stackable shelf riser | Mugs or bowls |
| Shallow pantry shelf | Under-shelf basket | Wraps or napkins |
| Mixed utensil drawer | Drawer dividers | Peelers and spoons |
| Open pantry packages | Clear food storage containers | Dry goods |
Keep the heaviest glass jars and cookware on stable lower shelves. Your upper cabinet can hold lightweight food, dishes, or paper goods, while a lower shelf handles dense items that could strain a riser.
Give Doors and Drawers a Clear Role
Drawer dividers work well when each lane holds one tool family. Your whisk, tongs, peeler, and microplane stay visible because the divider stops them from sliding into one metal tangle.
Over-the-door organizers can hold wraps, cutting boards, pot lids, spices, or light cleaning supplies without taking shelf room. Check the door’s interior gap before mounting anything, since a thick rack can strike shelves or hinge hardware.
Skip tall bins that hide food behind opaque walls. Your pantry should reveal what needs attention rather than become a row of plastic blind spots.
Once shelf height and door space are working, deep cavities become the next obstacle. The back half of a lower cabinet needs movement, not another static pile.
Bring Deep Cabinets, Corners, and Sink Areas Forward
The back half of a 22-inch-deep lower cabinet becomes a storage graveyard without a moving surface. Pull-out drawers, handled bins, and slide-out trays bring forgotten depth toward you rather than forcing you to kneel and unload the front row.
Small kitchen cabinet organization depends on access as much as capacity. Your cookware and food containers can stay in deep cabinets, but each category needs a way to come forward as a group.
Turn Deep Shelves Into Pull-Forward Storage
Rev-A-Shelf hardware fits some cabinets with screw-mounted pull-outs, while a handled bin gives renters a no-drill path. Your bin should hold one category, such as lunch containers or baking pans, so the whole group comes forward together.
Corner shelves work better with lazy Susans for oils, sauces, spices, and small pantry jars. The rotating platform brings each bottle forward, which is safer than reaching past glass containers with a full saucepan in your other hand.
Pots and pans belong in a low cabinet near the stove, stored vertically in a rack or divider whenever stacking turns into a heavy pile. Your skillet becomes a grab-and-go item rather than the bottom piece in a clattering tower.
Work Around Plumbing and Narrow Gaps
Under-sink storage needs removable bins because pipes, drips, and garbage disposal units interrupt fixed layouts. A tension rod can hold spray bottles, while a shallow tray in a false-front area can hold sponges or dishwasher tablets away from damp cabinet floors.
| Awkward area | Access fix | Suitable contents |
|---|---|---|
| Deep base cabinet | Handled pull-forward bin | Food containers |
| Blind corner | Lazy Susan turntable | Bottles and jars |
| Sink base | Removable under-sink organizer | Cleaning supplies |
| Appliance-side gap | Slim rolling utility cart | Lightweight pantry goods |
Use the area above cabinets for lightweight, low-frequency pieces such as a cake stand or extra paper towels. Your daily essentials belong lower, while a narrow gap beside a refrigerator can hold a rolling utility cart without crowding the work path.
Those deep zones solve cabinet access, but they do not clear the prep surface alone. Lighter daily tools need a secure place above the counter.
Clear Counters With Renter-Friendly Wall and Door Storage
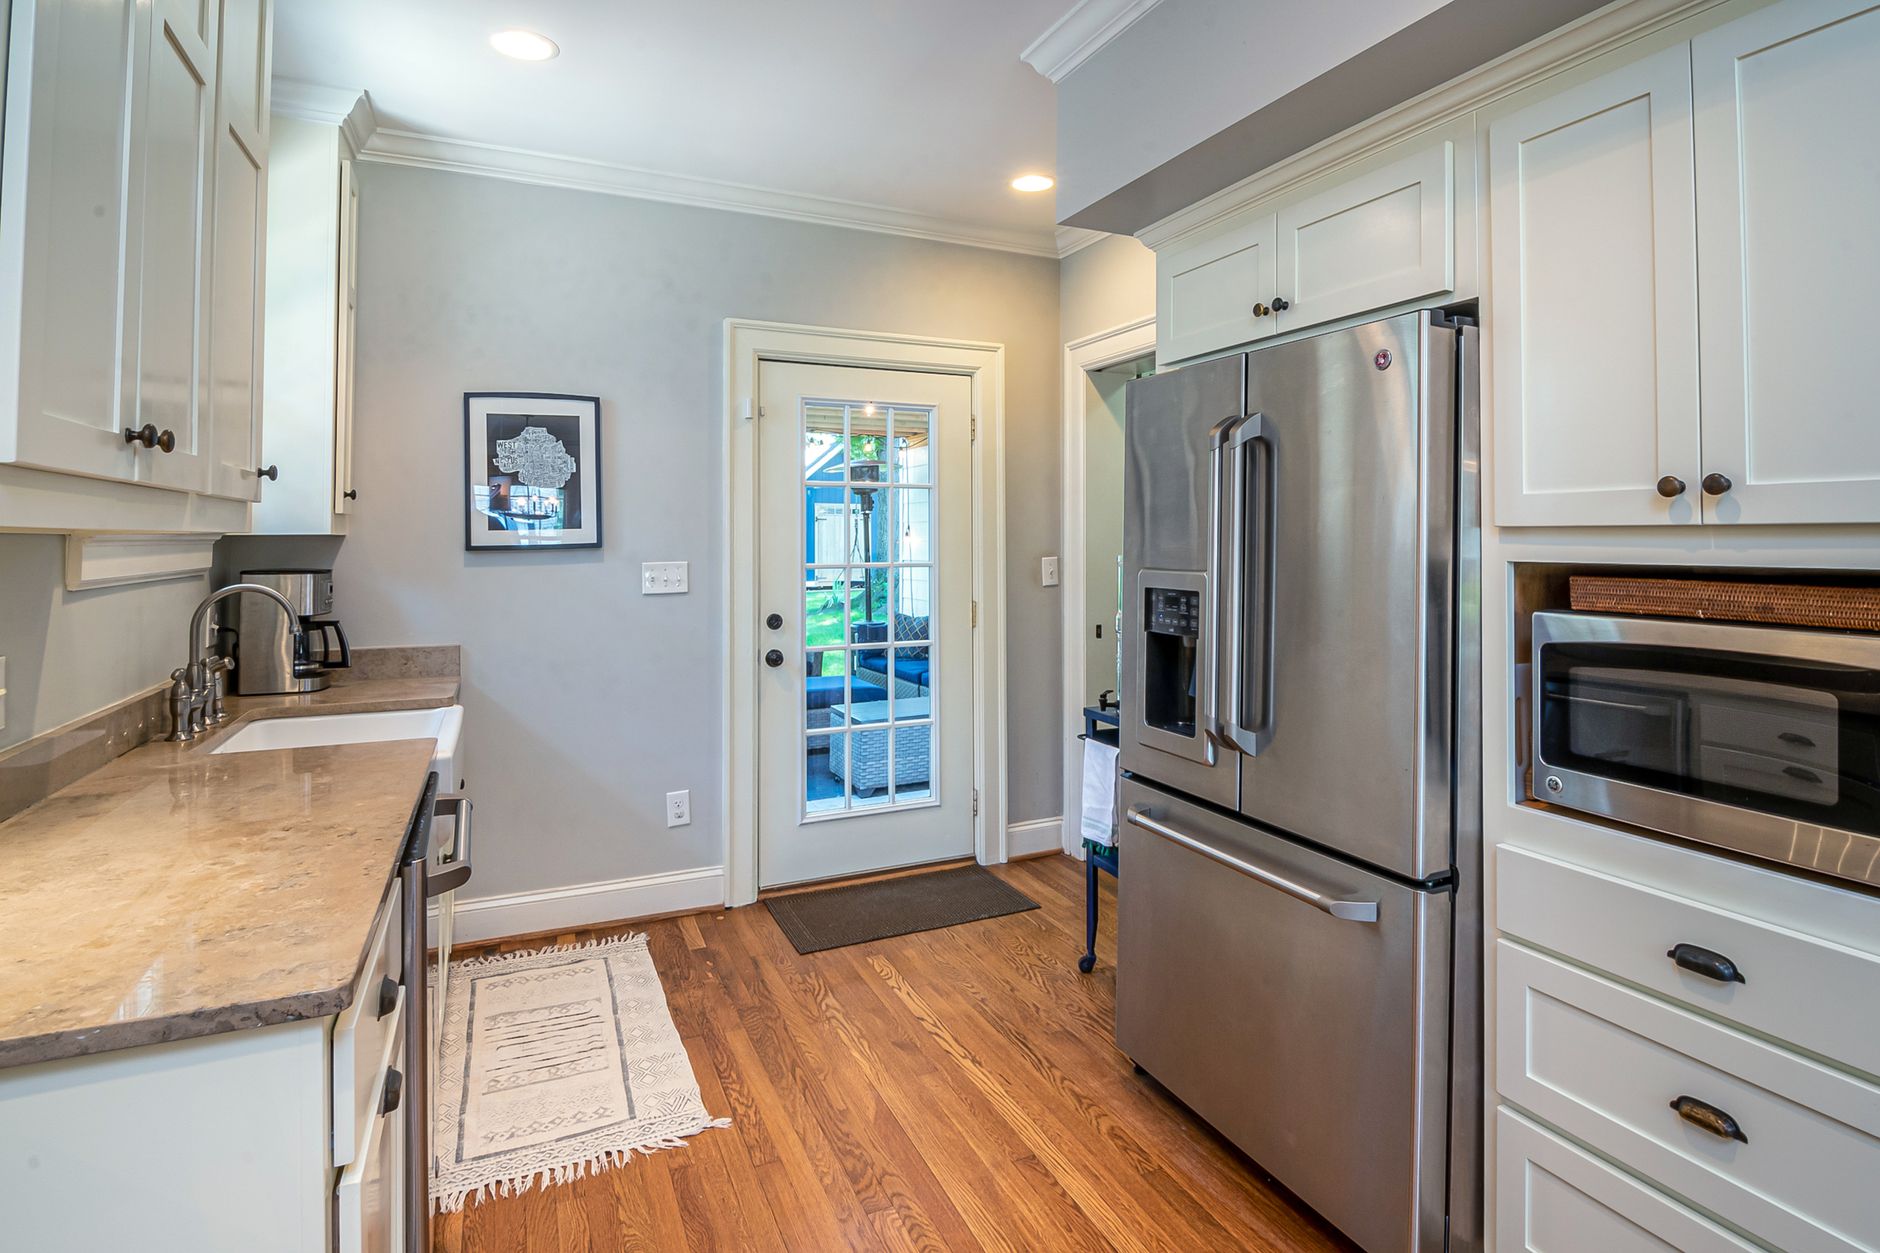
Wall-mounted rails, hooks, pegboards, and magnetic knife strips move frequently handled tools upward while leaving prep room open below. Your wall becomes a shallow storage plane, which works better than another countertop caddy.
Renter-friendly kitchen storage solutions rely on removable, light-duty hardware and careful placement. Heat, steam, wall finish, and loaded weight all shape what belongs on a wall or cabinet door.
Match the Mounting Method to the Load
3M Command Strips suit light belongings on clean, dry surfaces, such as a small towel hook or lightweight utensil rail. Your lease, wall finish, and the item’s loaded weight decide whether adhesive, removable hooks, or a drilled anchor fits the job.
IKEA rails and Yamazaki Home racks show two useful formats: open hooks for tools and slim shelves for small containers. A wall-mounted pot rack needs hardware anchored into framing or rated wall anchors, not adhesive strips.
- Light utensil rail Put a whisk, spatula, or measuring spoons near your prep zone.
- Small pegboard Hang light tools where each hook carries a modest load.
- Cabinet-door rack Hold wraps, lids, or cutting boards after checking the door gap.
- Magnetic strip Hold knives away from moisture, stove splatter, and door swing paths.
- Low cookware shelf Keep Dutch ovens and cast iron close to the floor rather than overhead.
Keep Sharp and Heavy Items Secure
A magnetic knife strip must sit away from child reach, stove splatter, and door swing paths. Your knives should attach blade-side inward with enough spacing that handles do not collide during removal.
Do not hang cast-iron cookware from adhesive hooks or overload cabinet doors. Heat, steam, repeated pulling, and weight can loosen mounts or warp door hardware.
Wall-mounted rails and pegboards suit lightweight tools, not heavy cookware. Your Dutch ovens, full glass jars, and cast-iron pans belong in stable lower cabinets where their weight has solid support.
Choose Each Organizer Around a Real Constraint
A bin earns its room only when it solves the exact obstacle in front of you. To maximize storage space in a small kitchen over time, match each tool to cabinet depth, open height, item weight, activity level, rental limits, and available room.
Kitchen organization without remodeling works best through small, targeted changes. Your recorded measurements and audit results tell you whether the problem is excess inventory, wasted height, blocked depth, mixed drawers, or crowded counters.
Follow a Simple Selection Sequence
- Excess inventory Remove duplicate belongings before bringing home any container, rack, divider, or basket.
- Empty shelf height Put in a riser only where your hand still fits above stored belongings.
- Blocked rear area Pick a handled bin, pull-out tray, or turntable that brings contents forward.
- Mixed drawer tools Fit adjustable drawer dividers that stop pieces from sliding across the drawer.
- Lost counter room Move light daily tools to rails, hooks, pegboards, or magnetic holders.
- Rental limits Pick removable mounting or freestanding pieces before drilling into walls.
The Container Store carries modular bins in several sizes, but your recorded cabinet dimensions matter more than a matching label. Skip any basket that conceals categories, wastes shelf height, blocks a drawer, or forces you to lift three belongings to reach one.
Your storage tool should reduce steps, not add them. A rack that makes plates harder to lift or a bin that forces you to unpack a shelf has failed its job.
Run Short Resets Instead of Major Cleanouts
Set aside five minutes each week to return stray tools to their zones and clear crumbs from drawer corners. Your system stays workable because small corrections stop one bad evening from becoming a full cabinet overhaul.
Use a one-in-one-out rule for mugs, gadgets, and countertop appliances. Seasonal pantry checks catch expired food before it occupies room behind newer packages, and any organizer that creates a new obstacle deserves removal.
That rhythm protects the room you recovered during decluttering. Your kitchen stays easier to cook in because each category returns to the same reachable spot.
Final Thoughts on Small-Kitchen Storage
Your kitchen feels larger once access improves. Remove belongings that do not earn their footprint, put daily items in the reach band, and solve each awkward area with the smallest reversible tool that fits.
To maximize storage space in a small kitchen, start with what already exists: usable shelf height, cabinet doors, wall space, and the back half of deep cabinets. Clear counters are the visible result, while faster cooking and less searching shape your daily routine.
FAQ
How can I create more kitchen storage without adding cabinets?
You can gain room through decluttering, shelf risers, drawer dividers, cabinet-door racks, handled bins, wall rails, and narrow rolling carts. Start with the space already inside your cabinets, since empty shelf height and unreachable depth can hold more potential than another freestanding cabinet.
What are practical ways to use vertical space in a small kitchen?
Your unused height can hold shelf risers, under-shelf baskets, stacked dry-good containers, door racks, and wall-mounted rails. Leave enough open room above each item for your hand, or the added tier becomes harder to reach than the empty shelf.
How do I organize deep cabinets so items do not get lost in the back?
Put each deep-cabinet category into a handled bin, pull-out tray, or slide-out drawer. Your lunch containers, baking pans, and pantry backstock stay together, and the full group can come forward without unloading the front row.
What storage solutions work for renters without drilling or remodeling?
You can rely on removable hooks, tension rods, freestanding shelf risers, handled bins, drawer dividers, and rolling utility carts. Check your lease before drilling, and reserve adhesive mounts for light objects on clean, dry surfaces away from stove heat.
How can I maximize storage in small kitchen drawers?
Drawer dividers give every tool family a narrow lane, so peelers, tongs, whisks, and measuring spoons stay visible. Your drawer works better after duplicate utensils leave and each category has enough width to lie flat.
Where should I store pots, pans, lids, and baking sheets in a tiny kitchen?
Store pots and pans in a lower cabinet near the stove, where their weight stays safer and access stays direct. Your cookware is easier to grab in a vertical rack or divider, while lids and baking sheets can stand upright in a nearby slot.